January 2, 2026
How to Create a Website Using Webflow 2026 (Process and Steps)
.webp)
Webflow is gaining popularity as a top website builder known for creating fast, responsive, and SEO-friendly sites.
It's favored by professional developers for its powerful features, while also being accessible to beginners wanting to build a site without coding.
For developers, Webflow offers advanced design tools for precise customization. Beginners appreciate its intuitive drag-and-drop interface, making it easy to create websites.
Webflow's templates are not only visually appealing but also highly adaptable, ensuring a professional look on any device.
Considering you're a seasoned developer or a newbie, Webflow's blend of extensive capabilities and user-friendly design makes it a standout choice for designing websites.
In this article, I'll provide a guide on creating a basic Website using Webflow.
Build smarter with a proven step-by-step process.
Book your free consult & get guidance tailored to your website goals.
Table of Contents
- Optimizing Your Webflow Site For Speed and SEO
- Webflow Resources
- Webflow Website Creation Process
- Generate Additional Sections on Your Own
- Creating a Website Using a Template
1. Optimizing Your Webflow Site For Speed and SEO

Webflow offers a unique combination of features that make it ideal for creating websites that are both fast-loading and SEO-friendly while remaining accessible to non-technical users. Here's a breakdown of its strengths:
- Clean Code for Performance and SEO: Webflow's visual builder generates clean, well-structured code behind the scenes. This code is lightweight and easy for search engines to crawl and understand, contributing to good SEO. Additionally, the clean code ensures faster loading times, resulting in a better user experience.
- Unlocking Full Potential with Code Expertise: While building a basic website requires no coding with Webflow, having some coding knowledge or a developer on hand can help you leverage its full potential. Developers can further optimize the code for even faster performance or implement custom functionalities.
- Empowering Non-Technical Users with CMS: Webflow's built-in Content Management System (CMS) is user-friendly, allowing non-technical users to easily update content, manage pages, and maintain the website after the initial development. This empowers marketers and content creators to make changes without relying solely on developers.
- Marketing Tool for Agility: By enabling non-technical users to manage website content, Webflow streamlines the marketing process. Marketers can make quick updates, test different content strategies, and optimize website elements to support marketing goals without waiting for developer resources.
Webflow strikes a balance between user-friendliness, clean code for SEO and speed, and the ability to leverage code expertise for further optimization.
This makes it a powerful tool for building and managing websites that excel in search engine ranking and user experience, empowering marketers to take control of their online presence.
2. Webflow Resources
Webflow simplifies website creation and management with a suite of powerful tools:
Designer: Drag-and-Drop Your Dream Website:
Imagine a design tool like Photoshop that builds your website as you create! Webflow Designer's intuitive interface lets you drag and drop elements to design layouts, define typography and colors, and add media – all while generating clean code in the background. No coding knowledge is required!
CMS: Intuitive Content Management at Your Fingertips:
Webflow seamlessly integrates a Content Management System (CMS) within Designer. This user-friendly database allows you to effortlessly add, edit, and organize website content like blog posts, product listings, or team pages. Think of it as a central hub for your website's content, conveniently accessible as you build and manage your site.
Rock-Solid Hosting For Optimal Performance:
Webflow takes care of the technical nitty-gritty with its robust hosting infrastructure. This translates to high website uptime, automatic backups, and scalability to handle surges in traffic.
For lightning-fast loading times, Webflow utilizes a global Content Delivery Network (CDN) to deliver content efficiently to visitors worldwide. Security is a top priority with built-in SSL certificates and protection against cyber threats like DDoS attacks. Additionally, integrating your custom domain is a breeze, and Webflow ensures compliance with data protection regulations.
Engage Visitors with Interactive Elements:
Make your website dynamic and captivating with Webflow's interaction features! Design hover effects, smooth transitions, eye-catching animations, and interactive elements triggered by scrolling – all without writing a single line of code. These interactive elements enhance user experience and keep visitors engaged with your website.
Combining design, content management, secure hosting, and interactive capabilities, Webflow empowers you to create and manage high-performing websites – all under one roof.
3. Webflow Website Creation Process
Get ready to craft your website on Webflow! This guide explores two main paths: building from scratch or leveraging a pre-designed template. While both options are outlined here, they're simplified to give you a foundational understanding. As you delve deeper into design and development, you'll unlock the full potential of Webflow.
Don't worry, there's a wealth of resources available to support your learning journey!
Crafting a Website from Scratch and Constructing it in Webflow
Getting started with building your Webflow website from scratch:
- Explore Basic Sections & Concepts: Gain a foundational understanding of essential website elements like navigation menus, hero sections, content areas, and footers.
- Navigation Menu Creation: We'll guide you through the process of building a user-friendly navigation menu for your website.
- Crafting a Hero Section: Learn how to design a captivating hero section – the first impression your website makes!
- Spark Your Curiosity: This hands-on experience will give you a taste of Webflow Designer's capabilities and leave you wanting to explore more.
- Springboard for Learning: Before jumping into detailed courses, this exercise will equip you with the basics and fuel your desire to learn further.
1. Set Up a Webflow Account
Visit the Webflow website and create either a free or paid account.

For new Webflow users, you can sign up with your work email or shorten the process by using your Google account.

2. Get Started a New Project
After logging in, click the "New site" button. You'll be prompted to choose a template at the beginning of this process. However, for this walkthrough, let's select a blank template to illustrate how building from scratch is done.

You'll be asked to name your site, so enter your project's name. You can change this later if you're unsure about the name.

All set! You're now ready to start building your new website with Webflow.
3. Develop the Structure and Layout For Your Website
After your website's initial load, you will enter Webflow Designer.

Before diving into building your website, take some time to organize its layout and structure. Research best practices for site architecture before adding sections, pages, and a navigation menu.
If you're starting, consider building a one-page site. Begin by identifying the sections your page will include. For instance:
- The hero section
- Testimonial section
- Portfolio section
- And so on...
We'll keep this tutorial simple and design a basic layout. Use the Webflow Designer tool to plan your website's structure, create pages, add sections, and define the navigation menu.
This phase involves learning some theory, particularly on website layout design.
4. Build Your Website
Design plays a crucial role in creating a website that's both visually appealing and user-friendly. Here's what you need to know about designing in Webflow:
- Crafting Your Website's Look and Feel: Webflow empowers you to customize your website's typography, color scheme, images, and other design elements. Ideally, you should create a style guide – a document that defines these design choices to ensure consistency across your entire website.
- Design Flexibility: While using design software like Figma beforehand can be a smooth workflow (especially for complex websites), it's not mandatory for smaller projects. The beauty of Webflow is that you can design and build your website simultaneously within the Designer tool.
- Learning Resources: Webflow offers a wealth of free tutorials to guide you through customizing fonts, colors, and other design aspects. This makes it easy to learn and experiment as you build your website.
- Beyond Webflow (Optional): For more complex design needs, you might consider integrating other web design software with Webflow. Figma is a popular choice, but there are other options available depending on your specific requirements.
Remember: Start with the basics offered by Webflow's Designer tool and tutorials. As you gain confidence, you can explore additional design software if needed.
5. Creating Your Webflow Site with Webflow Designer

The Add Panel: Your Toolbox
Look for the plus sign (+) in the top left corner of Webflow Designer. This opens the Add Panel, your treasure trove of website building blocks. Each element plays a crucial role in structuring and styling your website:
- Containers: These act as the foundation for organizing your page layout. Imagine them as boxes that hold other elements like headings, text, and images.
- Div Blocks: Think of these as versatile building blocks. You can use them to create specific sections, group elements together, or add custom layouts.
- Headings & Paragraphs: The cornerstones of your website's content, and headings (H1, H2, etc.) define a hierarchy, while paragraphs hold your main text.
- And More: The Add Panel offers a variety of elements beyond these core ones, including images, buttons, forms, and more.
Exploring the Add Panel:
Experiment with adding these elements to your Webflow page. Here are some tips:
- Click and Drag: Simply click on an element in the Add Panel and drag it onto your canvas to add it to your page.
- Nesting Elements: Containers and Div Blocks can hold other elements, allowing you to create complex layouts.
- Positioning: Webflow offers intuitive tools to position and arrange your elements precisely.
Webflow allows for easy experimentation and adjustments. You can always rearrange or remove elements as you build your website.
6. Webflow Navigation Bar: A Step-by-Step Guide
The navigation bar, or navbar, is a crucial element that guides visitors through your website. Here's how to create one in Webflow:
1. Adding the Navbar Element:
- In the Webflow Designer, locate the Add Panel (plus sign (+) in the top left corner).
- Scroll down and find the Navbar element.
- Drag and drop the Navbar element onto your canvas at the top of your page.
2. Customizing the Navbar:
- The initial navbar appears plain. Use the panels on the right side of the Webflow interface to customize it based on your design preferences.
- Styles Panel: Change the background color, text color, and other design attributes to match your website's overall look and feel.
- Navigation Menu: Within the navbar element, you'll find a section for the navigation menu. Here, you can add and edit the links that will appear in your navbar, allowing visitors to navigate between different pages on your website.
3. Adding Your Logo and Links:
- To personalize your navbar further, you can incorporate your website's logo:
- Upload your logo image to Webflow's asset library.
- Drag and drop the logo image onto the navbar element to position it strategically.
- In the navigation menu section (mentioned in step 2), add links corresponding to your website's structure.
- Each link should have a clear and descriptive label (e.g., "Home," "About," "Contact") and be linked to the appropriate page on your website.
Webflow offers a visual interface for customizing your navbar. Experiment with different options and preview your changes to ensure the navbar aligns with your website's design and functionality.

To style elements on your site effectively, you need to be adept with the menu on the right. The best advice I can offer is to experiment with it and understand how different options work. For example, changing colors is just one of the many possibilities.

Exploring different options, like grid or flexbox, involves grasping some CSS concepts to utilize them effectively.
However, this extends beyond the fundamental concepts of Webflow design discussed here. The key takeaway is that to excel as a Webflow developer, it's crucial to comprehend basic coding and web design principles.
7. Explorer's Guide to Navigator
By incorporating the Navbar, we've introduced a comprehensive structure of various elements, comprising a container, a button, and multiple links, all nested within the Navbar.
To grasp the arrangement of these elements stacked atop one another, you can access the Navigator (shortcut: Z) and visualize them, as depicted in the image below.

8. Explorer's Guide to Classes
Refer to the picture below.

Initially, I updated the color of a navigation link directing to the homepage. This led to the creation of an automatic class with the specific properties I defined.
However, when I decided to change the color of the remaining two buttons (and make various other styling adjustments), I wondered if I had to do it all manually. The answer is no!
I could simply enter the class name generated when I styled the first link and apply it to the second and third links.

Adding the Nav Link resulted in the following

I shared this because these classes will be reused extensively across various elements of your website. Webflow allows you to name them, making navigation easier. For instance, at Flow Ninja, we have a class naming system that accelerates the building process for our clients.
9. Feature Your Hero Section
The following section, which concludes this tutorial, focuses on the hero section. I aim to demonstrate how to integrate various elements and ensure their cohesive functionality before moving on to other critical aspects of website development with Webflow.
To begin, I inserted a Section element beneath the Navbar and will proceed to insert additional elements within it to construct a header.
However, before adding elements directly, I created a container and then a grid with two rows. This grid will accommodate various types of content.
Next, I placed a Div block element in the left grid and added a Heading element, where I wrote the actual heading of my page. The current layout appears as follows.

Beginning with the container, grid, and div block, I won't explain the technicalities here. These elements are diverse container types with properties that aid in optimal content positioning.
Moving forward, I added a paragraph element and a button, both nested within the same Div block.

The key point is that my navigation appears as follows, with all three elements indeed nested under one Div block.

After that, I navigated to the Assets section in the left-side menu and uploaded a random image. I then dragged this image into the grid on the right.

Naturally, you can further configure the image to ensure it aligns well and integrates seamlessly into the overall page layout.
Currently, the site appears somewhat whimsical, so I made slight color adjustments to tone down its silliness, although it still retains some playful elements.

4. Generate Additional Sections on Your Own
With a solid understanding of Webflow design basics under your belt, I encourage you to dive into Webflow design and experiment further on your own. If you ever feel stuck, resources like Webflow University and other free tutorials are there to guide you.
Transitioning to Mobile
One of the key reasons Webflow stands out as one of the most popular builders globally is its seamless handling of responsive design, ensuring your website looks great on various devices. Simply choose a different view from the top menu, and you can instantly tailor the design for users accessing your site on the go.

the flexibility of containers, grids, and other elements allows for easy rearrangement when the screen ratio changes.
Setting Up Your Page and SEO Settings
Now, while designing and developing your page is crucial in Webflow, configuring its settings is equally important. To begin, navigate to the Pages option in the left-side menu and click on the cog icon next to the desired page for configuration.

Within these settings, you'll find several key options, including those for SEO. Here, you'll need to input the title tag and meta description for your page.

Be sure to explore the various options available in this section to discover what else you can configure.
Adjusting Your Site Settings
Last but not least, you'll want to configure settings for your entire website, not just individual pages. To access these settings, click on the Webflow icon in the top-left corner of Webflow Designer and select Site Settings.

Upon opening this, you'll discover a vast array of options, granting you control over who can edit and design your site. Additionally, you'll find various settings related to publishing, SEO, billing, and more.
Refinement of Your Website After Testing
After completing your website, it's essential to preview and test it on various devices and browsers to ensure optimal performance and appearance across all platforms. Make any required adjustments and refine your design as necessary. Webflow is designed with responsiveness in mind, making it easy to adjust elements to look great on different screen sizes.
Go Live with Your Website

When you're prepared to go live with your site, utilize the Publish option located in the upper right corner. Webflow provides various hosting options, such as custom domains and SSL certificates. However, if you're on a free plan, you can only publish to Webflow's subdomain.
5. Creating a Website Using a Template
Enhance your website with VictorFlow and integrate features from Flow Ninja, follow these steps:
Choose a VictorFlow template: Explore the VictorFlow website and select a template that aligns with your needs. VictorFlow offers a range of templates tailored for different industries and purposes.
Preview the template: Once you've found a template you like, preview it on the VictorFlow website. This will give you an overview of the template's design and functionality.
Purchase the template: If the template meets your requirements, purchase it through the VictorFlow platform. Prices for templates vary depending on the complexity and features included.
Customize the template: After purchasing the template, customize it using VictorFlow's editing tools. You can modify the layout, colors, typography, and content to suit your branding and preferences.
Integrate features from Flow Ninja: Explore the features offered by Flow Ninja and identify those you want to integrate into your VictorFlow website. Flow Ninja provides specialized templates and features that can enhance the functionality and design of your site.
Test your website: Before publishing your website, test it thoroughly to ensure that all features work correctly and that the design is consistent across different devices and screen sizes.
Publish your website: Once you're satisfied with the design and functionality of your website, publish it using VictorFlow's hosting options. This will make your website accessible to the public.
By following these steps, you can create a professional and functional website using VictorFlow and integrate features from Flow Ninja to enhance its design and functionality.

FAQ
1. What is Webflow and why should I use it to create my website?
Webflow is a powerful web design tool that allows you to build sites visually without needing to know how to code. It provides an intuitive interface, responsive design capabilities, and SEO optimization features, making it ideal for beginners and experienced web designers alike.
2. Can I use a template to kickstart my website creation in Webflow?
Yes, you can use Webflow templates to speed up the process of building your website. There are various Webflow templates available that you can customize to suit your needs.
3. What are the basic steps to create a website using Webflow?
To create a website using Webflow, you can follow these simple steps: start building a new website, customize the design process, add dynamic content, and then preview and publish your Webflow site.
4. Can I integrate a custom domain with my Webflow website?
Yes, you can easily integrate a custom domain with your Webflow website. Webflow provides simple steps for you to set up and connect your custom domain to your site.
5. What tools can I use within Webflow to enhance the typography of my website?
Within Webflow, you can utilize various font options and typography tools to make your text visually appealing. The platform allows you to design your


Choose Our Service, Grow Fast!
Follow Us


Table of Contents
Related Posts
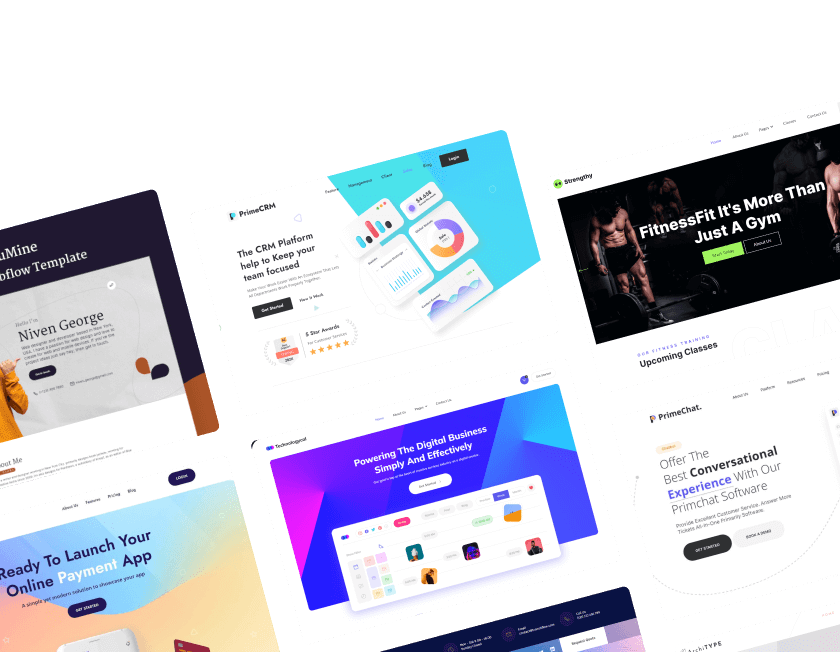
.webp)
Hiring a Webflow agency? Learn how to choose the right partner, compare agency vs freelancer, understand pricing, and avoid costly mistakes in this complete 2026 guide for SaaS & B2B teams.
Hiring a Webflow agency? Learn how to choose the right partner, compare agency vs freelancer, understand pricing, and avoid costly mistakes in this complete 2026 guide for SaaS & B2B teams.
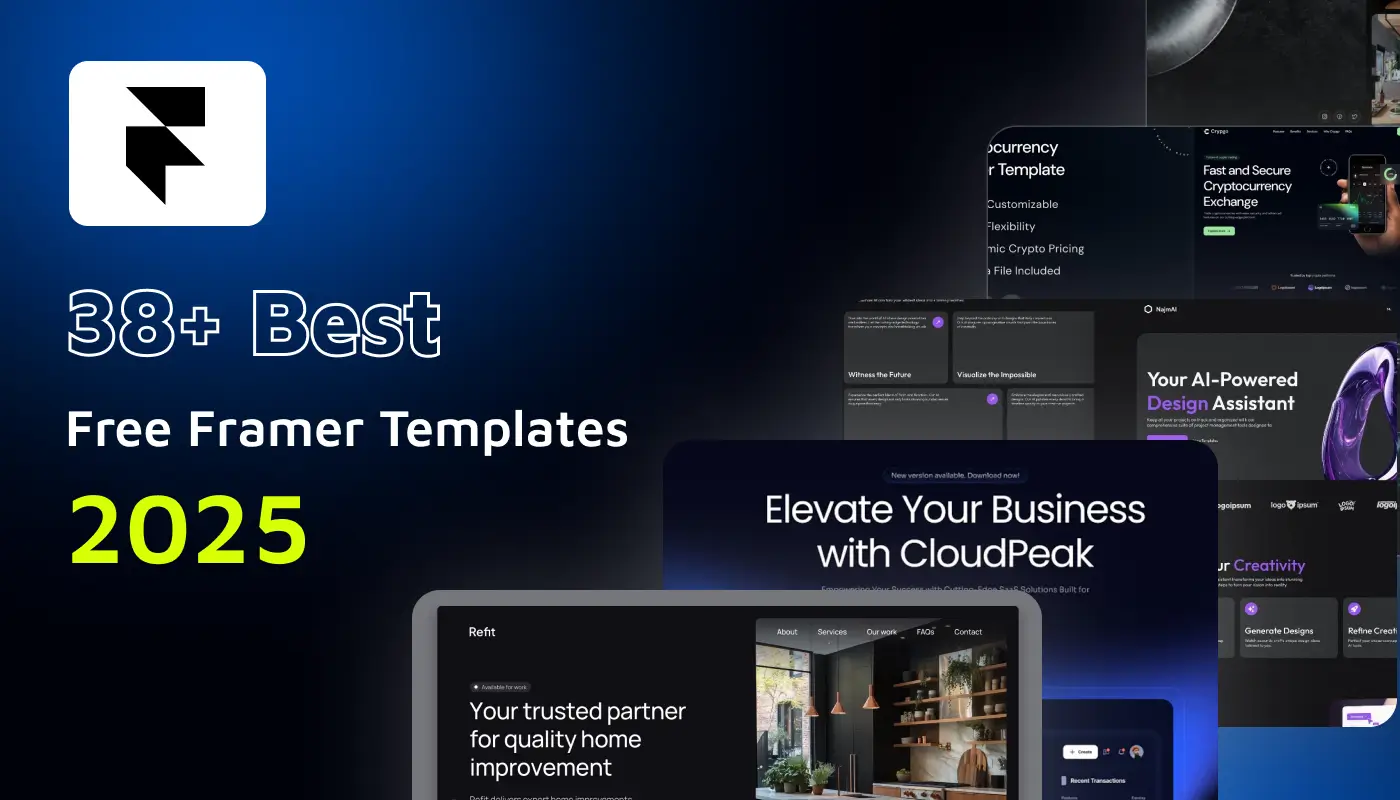
Explore 38+ free Framer templates for 2026. Discover handpicked, responsive, and customizable website templates you can clone, edit, and launch in minutes.
Explore 38+ free Framer templates for 2026. Discover handpicked, responsive, and customizable website templates you can clone, edit, and launch in minutes.
July 13, 2026
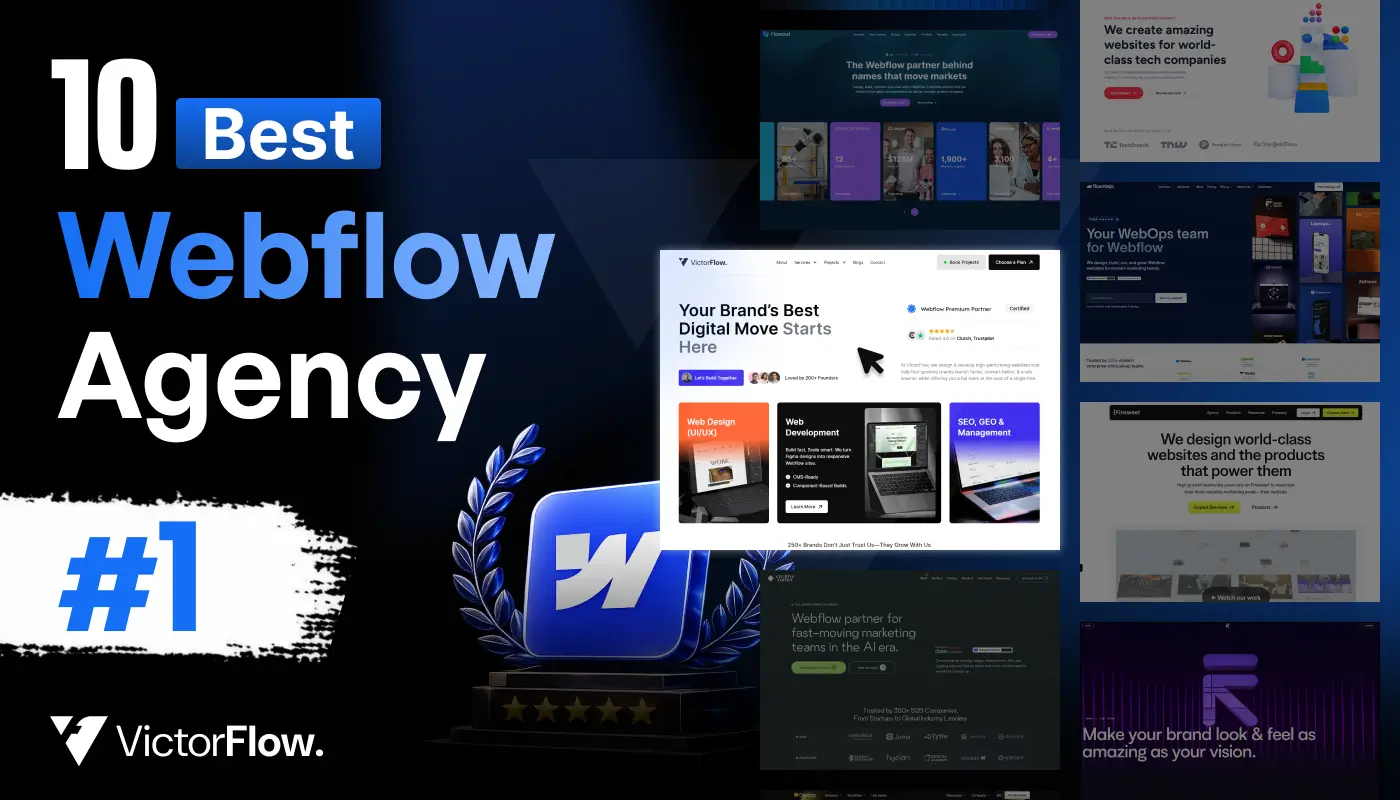
Looking for the best Webflow agency? Explore top 10 Webflow design and development agencies in 2026, compare their expertise, services, and choose the perfect partner.
Looking for the best Webflow agency? Explore 10 top Webflow design and development agencies in 2026, compare their expertise, services, and choose the perfect partner.
Ready to Scale Your Project to the Next Level?
Let's take your project to new heights, reach out and see how we can help you.


Top-rated by customers


