
Migrating a website from WordPress to Webflow involves careful planning for smooth transitions. Content export and design adaptation are key steps to retain functionality and aesthetics efficiently.
Webflow offers flexible layouts, faster load times, and improved SEO capabilities for modern sites. Ensuring proper URL redirects maintains search rankings and prevents broken links during migration.
Templates and CMS integration in Webflow allow easier content updates and dynamic page creation. Backup processes and staging environments reduce risks and preserve all essential website data.
Attention to design details ensures brand consistency and user satisfaction throughout the migration. Testing responsiveness and performance across devices keeps websites functional and appealing.
Step-by-step approaches minimize downtime and deliver fully operational sites efficiently and securely.
"Ensure smooth WordPress-to-Webflow transitions and optimized layouts.
Claim a free step-by-step guidance session."
Migrate WordPress to Webflow Site: Step by Step
- Why should you switch to Webflow?
- Content Transfer Excellence: Must-Follow Steps
- Plugin Installation
- Custom Export Settings: Selecting Your Content
- Data Import to Webflow
- Creating a field map
- Image Imports – Factors to Keep in Mind
- Additional Insights to Keep in Mind
- Optimize Meta Titles and Descriptions
- Alt tags should be updated.
1. Why should you switch to Webflow?
WordPress is a strong platform for creating site templates in the field of web design. However, the responsibilities of ongoing site maintenance, dependency on third-party hosting providers, and design limits have prompted web designers and developers to consider migrating their WordPress sites to Webflow.
With its simplified approach that eliminates the need for lengthy code and embraces a user-friendly drag-and-drop interface, Webflow provides an appealing alternative. This combination results in more efficient and faster website creation, which serves as a driver for business development. Join us as we explore deeper into the complicated process of exporting your Webflow project to WordPress.
2. Content Transfer Excellence: Must-Follow Steps
Let's initiate the process with a comprehensive guide on exporting your database from WordPress CMS to Webflow, followed by valuable insights on SEO-related considerations. The initial and pivotal step in your WordPress to Webflow migration journey revolves around content export.
When it comes to exporting your data, you have two distinct methods at your disposal:
- We are utilizing the WordPress built-in export feature, which exports data in . XML format by default.
- Leveraging external CSV data export plugins for a seamless transition. These plugins export your website data in CSV format, ensuring compatibility for a smooth import into Webflow.
In your pursuit of a successful migration, the latter method is highly recommended for its compatibility and ease of use.
Plugin Installation
The first step is to obtain the plugin. To begin, go to your WordPress admin panel and click on the 'Plugins' page. Then, choose the 'Add new' option and search for 'Export any WordPress data to XML/CSV'.

Now You're Ready: Click 'Activate' and Begin

Custom Export Settings: Selecting Your Content
Once activation is finalized, your next step is to determine the content for export, including what to include and exclude. Navigate to the 'All export' settings located on the left panel and make your content selections.

After completing the content selection, proceed to click the 'Migrate posts' button. Subsequently, press 'Confirm & Run Export' to initiate the CSV download to your web browser. Finally, once the CSV file is ready, click on the 'CSV' button to commence the file download.

Data Import to Webflow
Now that you've successfully acquired your content, the following phase involves importing it into the Webflow CMS.
Here's the procedure:
1. Access your Collections panel in Webflow.
2. Select an existing Collection, or
3. Establish a new Collection.

4. Select the 'Import' function in your Collection Settings.

It's important to note that on a starter site plan, Webflow permits users to import up to 50 Collection items at no cost.
For more extensive imports, you'll need to consider upgrading to the CMS or Business site plans. With the CMS plan, you can upload up to 2,000 Collection items, while the Business plan allows for up to 10,000 items.
Additionally, be aware that the maximum file size for a CSV upload is 4 MB.
As part of the import process, you will be prompted to select a header row once your data is uploaded.

Whatever happens, whether you designate any row as a header or not at this point, you have the option to change the header row in the following phase. To do so, switch the 'Header Row' button on or off.

Creating a field map
In the last stage of data transfer, you'll need to map the fields from your CSV file to those in your collection. Once you've completed this step, simply click the 'Import' button, and all the data will be seamlessly uploaded to your Collections panel.

You have the option to either associate your content with an existing field in your collection, generate a new one, or simply disregard that row altogether.

Image Imports – Factors to Keep in Mind
When dealing with image imports, it's crucial to ensure proper formatting. If the images are linked to a Webflow CMS images field, such as a hero image, the upload process will happen automatically.
However, when the import is connected to a CMS-rich text field, like a blog post, the images will be brought in from their source URLs. This implies that if the original source site is no longer available, the images will cease to display. To mitigate this, consider downloading each of the images from the rich text fields and manually uploading them to the CMS.
Additional Insights to Keep in Mind
Beyond the technical intricacies of migration, there are other significant considerations to address before initiating the process. Migration has the potential to impact your site's SEO, and when executed correctly, it can actually enhance your site's ranking and traffic.
- Document and Audit Your Current Site
Prior to migration, it's essential to maintain comprehensive documentation of your WordPress website as a backup for any potential issues during the process. Additionally, perform a thorough site audit to assess your pages and URLs. This analysis will reveal which pages attract the most traffic, enabling you to make informed decisions about transferring them to your new site or setting up redirects. - Creating New URLs for Existing Pages
Once you've determined the pages you wish to migrate to your new website, begin the process of mapping these pages to new URLs. Whenever possible, strive to maintain the similarity between the new and old URLs. Drastic changes in URLs can impact site traffic. - Setting Up Redirects
Avoid the pitfalls of broken pages that can drive away visitors by refraining from deleting pages without proper redirects. Implementing 301 redirects is essential to guide users from your old URLs to the corresponding new pages. This ensures the preservation of your page backlinks and prevents users from encountering frustrating 404 errors.
This process can be accomplished in just three straightforward steps:
- Access your Project settings.
- Input your links into the 'Old Path' and 'Redirect to Page' fields.
- Conclude the process by clicking the 'Add Redirect Path' button.
Optimize Meta Titles and Descriptions
Google relies on your website's title tags and meta descriptions to understand its content and identify relevant keywords for ranking. These elements provide valuable insights into your page's content.
While title tags and meta descriptions themselves are not direct ranking factors, they hold significant influence over your rankings. They are pivotal in enhancing your click-through rate and increasing your site's visibility.
To incorporate these elements, navigate to the 'Pages panel,' access the SEO settings, and proceed to add a title tag and meta description.

Alt tags should be updated
Alt tags serve a dual purpose by not only enhancing website accessibility for the visually impaired but also significantly contributing to your site's search engine optimization. The more precise your image descriptions are, the better search engines can identify and interpret the information.
To include alt text, follow these steps:
- Click on the image within the canvas.
- Access the Element settings panel and choose Image settings.
- Navigate to the Alt text section and opt for 'Custom description.'
- Enter the alt text in the field located beneath the dropdown menu.

Struggling with your WordPress Site?
Upgrade to Webflow effortlessly with our expert help! As a Webflow Premium Partner, we’ll handle your migration seamlessly.
- We are a Webflow Premium Partner - @victorflow
- Successful projects completed - 100+ Client Projects
For inquiries or support, email us at info@victorflow.com
Conclusion
Throughout the process, a good migration maintains user experience, SEO value, and content. Accurate and secure transfer of all pages, media, and data is ensured by following defined procedures.
Webflow’s intuitive tools improve editing efficiency and overall website management post-migration. Proper testing guarantees responsive layouts and consistent performance on every device type.
URL redirects and CMS configurations prevent errors and enhance navigation for site visitors. Attention to design integrity maintains branding, aesthetics, and user engagement continuously.
Documenting the migration process allows future updates and troubleshooting to be more efficient. Seamless WordPress to Webflow transitions deliver faster, visually enhanced, and user-friendly sites.

FAQ
1. Can I migrate all my WordPress content to Webflow?
Yes, text, images, and pages can be migrated, though some plugins may require alternatives in Webflow.
2. Will SEO rankings be affected during migration?
Proper URL redirects and careful content transfer preserve search rankings effectively.
3. How long does a WordPress to Webflow migration take?
Duration varies by site size, typically from a few days for small sites to a few weeks for larger ones.
4. Do I need coding knowledge for migration?
Minimal coding is needed; Webflow’s CMS tools and designer interface simplify most processes.
5. Can I keep my existing domain during migration?
Yes, domains can be pointed to Webflow once migration and testing are complete.
6. Is website downtime avoidable during the migration?
Proper staging and parallel setups minimize downtime and ensure continuous site accessibility.


Choose Our Service, Grow Fast!
Follow Us


Table of Contents
Related Posts

July 22, 2026
SEO and social media help businesses attract clients faster by boosting visibility, building trust, and creating consistent engagement across multiple online channels.
SEO and social media help businesses attract clients faster by boosting visibility, building trust, and creating consistent engagement across multiple online channels.
.webp)
Hiring a Webflow agency? Learn how to choose the right partner, compare agency vs freelancer, understand pricing, and avoid costly mistakes in this complete 2026 guide for SaaS & B2B teams.
Hiring a Webflow agency? Learn how to choose the right partner, compare agency vs freelancer, understand pricing, and avoid costly mistakes in this complete 2026 guide for SaaS & B2B teams.
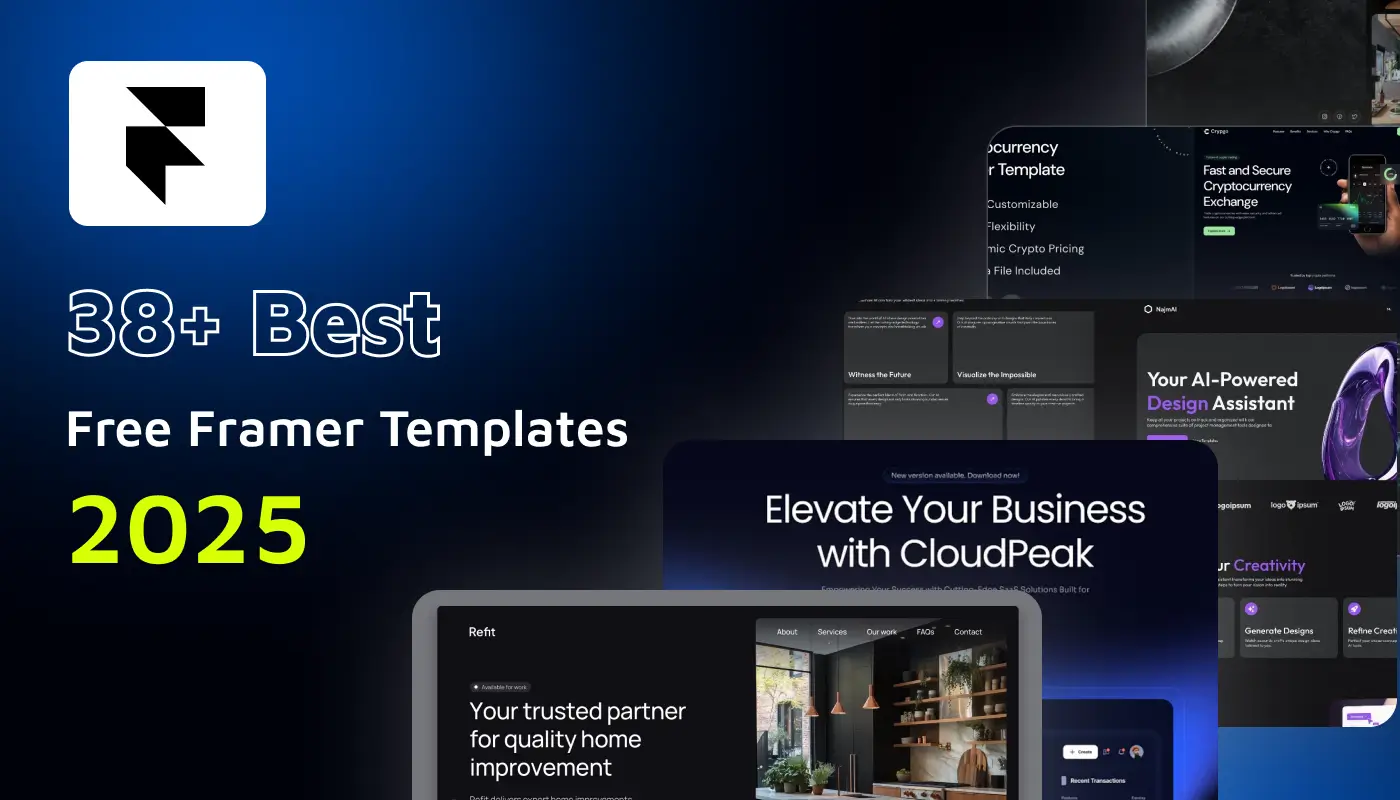
Explore 38+ free Framer templates for 2026. Discover handpicked, responsive, and customizable website templates you can clone, edit, and launch in minutes.
Explore 38+ free Framer templates for 2026. Discover handpicked, responsive, and customizable website templates you can clone, edit, and launch in minutes.
Ready to Scale Your Project to the Next Level?
Let's take your project to new heights, reach out and see how we can help you.


Top-rated by customers


